 Cycle Power Meters
 GPS Bike Computer Rental
 Carbon Wheelset Rental
 Indoor Trainer Rental
 Time Trial Helmet Rental
 Normatec MVP Rental
 Bike Boxes
 Insurance
How to change a wireless SRM crank battery:
If you have owned an SRM power meter for a fair amount of time you may have had to replace the battery at some point. This normally involves sending the crank back to SRM, and paying normally well over £100. In the following guide we show you how to change the battery yourself. To be honest we would not recommend doing this unless you have some experience of electronics and soldering.
Below we start off by removing the chainrings and cleaning the crank. If you cannot remove the chainrings you should walk away now and send your crank back to SRM.
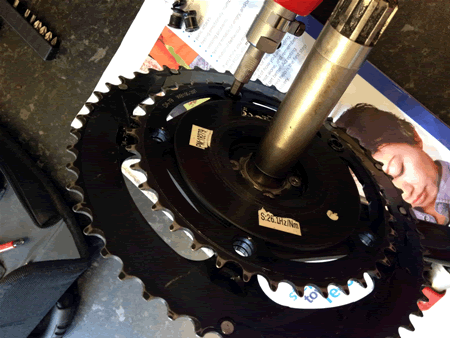
Below we see the SRM unit with the chain rings removed and cleaned.
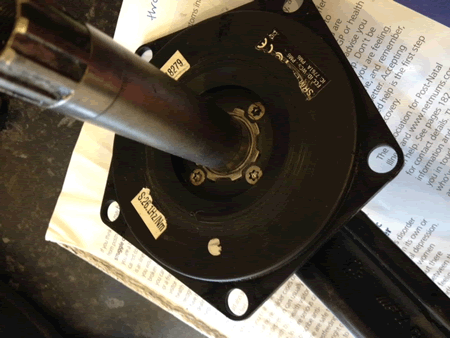
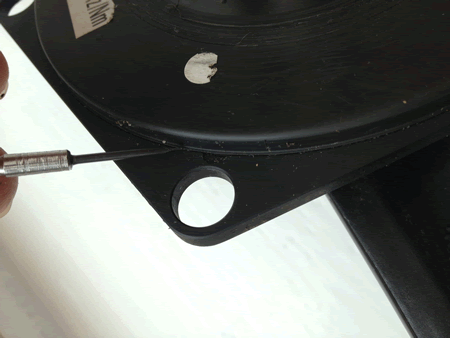
Next we need to remove the cover (which was held back by the chainrings and can now be removed). Using a small watch makers screw driver and using all 4 recesses around the crank slowly pry the cover off evenly one corner at a time. Take care not to damage the rubber seal. This can be seen in the picture below:
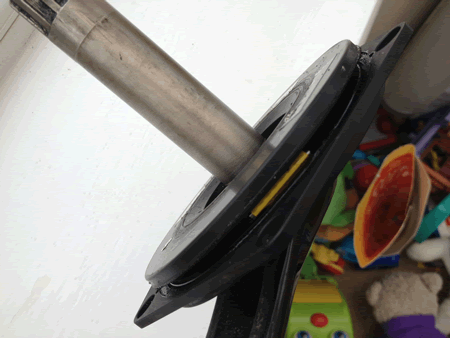
As the cover comes away be careful in case any components are attached to it, and remove the cover as below:
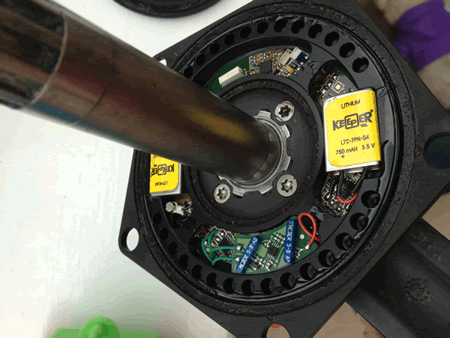
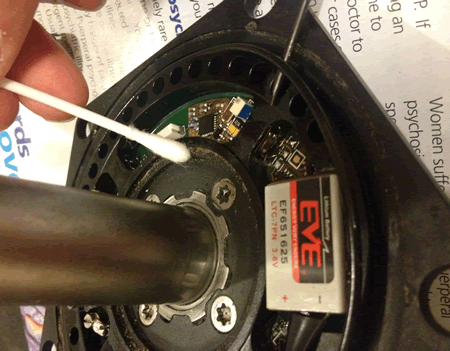
Below we can see the 2 Lithium 3.5v batteries and their part numbers LTC-7PN-S4. A search for these on the net finds the following supplier. These are the same battery but with the terminals bent at 90 degrees. These can easily be bent straight as they suggest on their product page.
Below we have removed the battery carefully (they have a small blob of silicone glue holding them in and presumably somewhat protecting them from vibration). We have also carefully removed the heat shrink insulation from the solder joints with a scapel. Beware not to short the contacts:
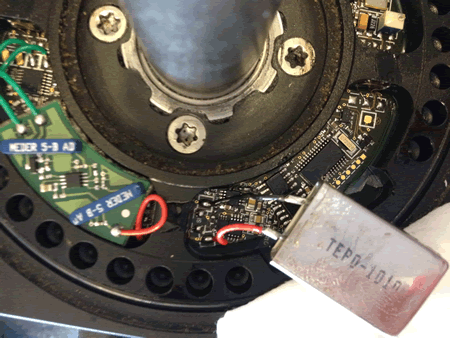
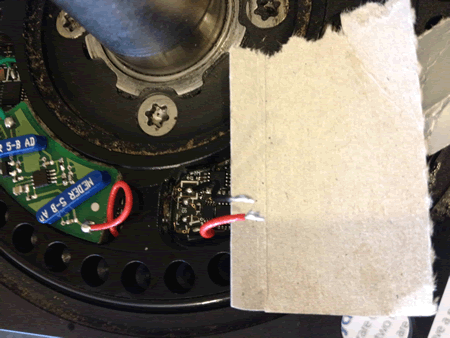
As per below when soldering above the other circuit boards always cover them to protect other components from any solder dripping:
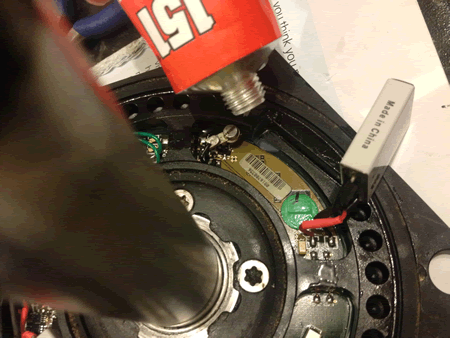
So below we have soldered in the new batteries and re-insulated the solder joints and are ready to install the batteries. Drop a small blob of silicon sealant glue into the corner and push the battery into place. You may need to bend one of the battery terminals a little inward to get it to fit in:
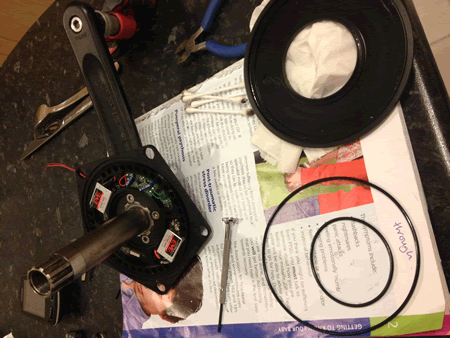
Below we see the batteries installed. Now it is time to clean and prepare the waterproof seals. We start by cleaning any dirt away from the seals, remove the seals, clean them and clean the surfaces they sit on:
With the seals removed and cleaned we apply new silicon grease to them and the surfaces they go on. If you have damaged these seals in any way in removal you must replace them:
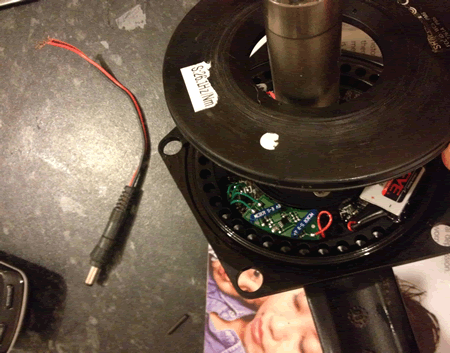
Then we slide the cover back on, making sure in the same location as it came away. There will be a recess in the back of it for the reed switch/switches which will need to align with the reed switches. Normally under the white dot is where the reed switches go:
Below with the cover pushed back on firmly we again check that the crank is now working by swiping a magnet in the correct direction over the reed switches and checking for cadence on our head unit.
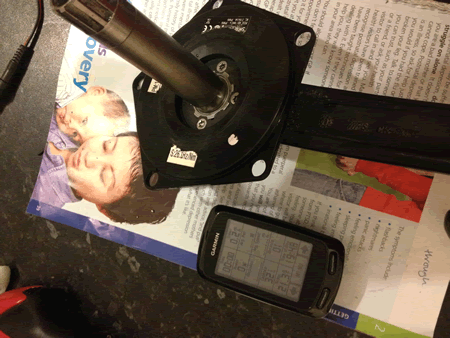
Refit to your bike and re adjust your calibration if you have the kit. On SRM power meters now days the calibration does not drift much and a zero offset will surfice. Often a battery change from SRM will involve a re-calibration which is worth bearing in mind. Total cost here £20.
Would we recommend this? Probably not unless you are reasonably used to soldering and have a small soldering iron. These are expensive units and do this at your own risk. We do not condone or recommend this.
By Philip Cooper on Google here.